Parakeet-API: High-Performance Local Speech-to-Text Service
The parakeet-api project is a local speech-to-text service based on the NVIDIA Parakeet-tdt-0.6b model. It provides an OpenAI API-compatible interface and a clean Web user interface, enabling you to easily and quickly convert any audio or video file into high-precision SRT subtitles. It's also compatible with pyVideoTrans v3.72+.
This project's open-source address: https://github.com/jianchang512/parakeet-api
✨ Parakeet-API Key Advantages
- 🚀 Extreme Speed and Performance: The Parakeet model is highly optimized, especially in environments equipped with NVIDIA GPUs, offering very fast transcription speeds, making it ideal for processing large or long audio and video files.
- 🎯 Precise Timestamps: Adopting advanced Transducer (TDT) technology, the generated SRT subtitles have very accurate timestamps, perfectly aligned with the audio stream, ideal for video subtitling.
- 💰 Completely Free, Unlimited Use: Run on your own hardware without paying any API call fees or usage time restrictions.
- 🌐 Flexible Access Methods: Provides an intuitive Web interface and standardized API interface, easily integrated into existing workflows like
pyVideoTrans.
🛠️ Installation and Configuration Guide
This project supports Windows, macOS, and Linux. Please follow the steps below for installation and configuration.
Step 0: Configure Python 3.10 Environment
If you don't have Python 3 installed, please follow this tutorial: https://pvt9.com/_posts/pythoninstall
Step 1: Prepare FFmpeg
This project uses ffmpeg for audio and video format preprocessing.
Windows (Recommended):
- Download from the FFmpeg github repository and extract to get
ffmpeg.exe. - Place the downloaded
ffmpeg.exefile directly in the root directory of this project (at the same level as theapp.pyfile). The program will automatically detect and use it without configuring environment variables.
- Download from the FFmpeg github repository and extract to get
macOS (Using Homebrew):
bashbrew install ffmpegLinux (Debian/Ubuntu):
bashsudo apt update && sudo apt install ffmpeg
Step 2: Create a Python Virtual Environment and Install Dependencies
Download or clone this project code to your local computer (it's recommended to place it in a non-system drive, inside a folder named with English characters or numbers).
Open a terminal or command-line tool and navigate to the project root directory (on Windows, you can directly type
cmdin the folder's address bar and press Enter).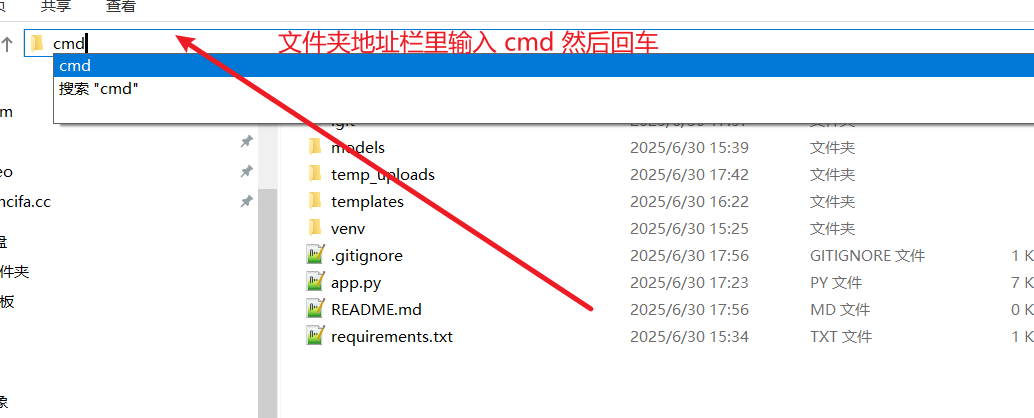
Create a virtual environment:
python -m venv venvActivate the virtual environment:
- Windows (CMD/PowerShell):
.\venv\Scripts\activate - macOS / Linux (Bash/Zsh):
source venv/bin/activate
- Windows (CMD/PowerShell):
Install dependencies:
If you do not have an NVIDIA graphics card (use CPU only):
bashpip install -r requirements.txtIf you have an NVIDIA graphics card (using GPU acceleration): a. Ensure you have installed the latest NVIDIA drivers and the corresponding CUDA Toolkit. b. Uninstall any existing old versions of PyTorch:
pip uninstall -y torchc. Install PyTorch that matches your CUDA version (using CUDA 12.6 as an example):bashpip install torch --index-url https://download.pytorch.org/whl/cu126
Step 3: Start the Service
In the terminal where the virtual environment is activated, run the following command:
python app.pyYou will see a message indicating that the service has started. The first run will download the model (approximately 1.2GB), please be patient. 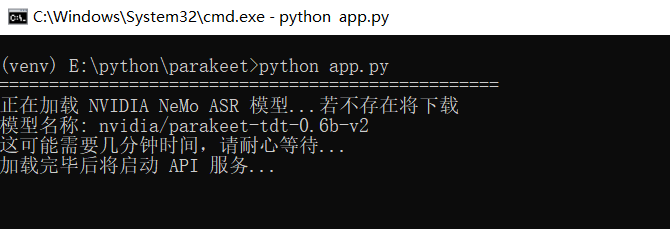
If a bunch of warnings appear, don't worry about it. 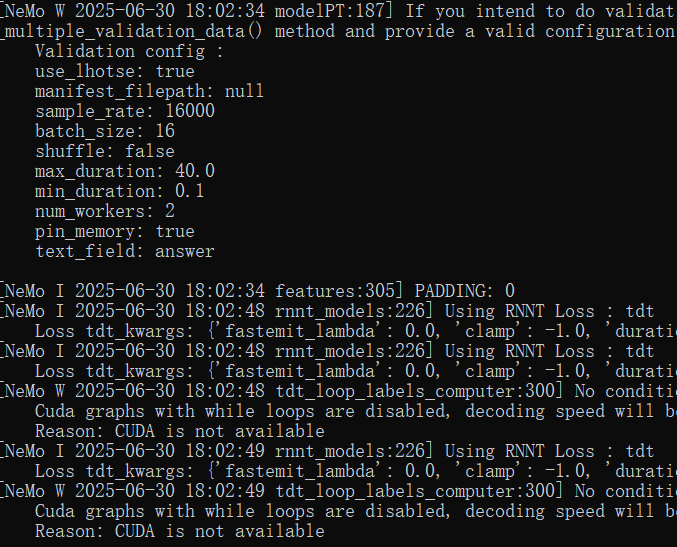
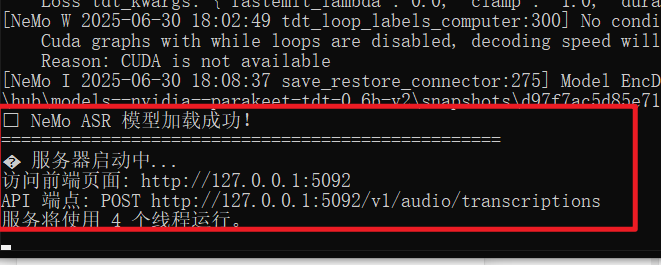
Successful startup interface
🚀 Usage Methods
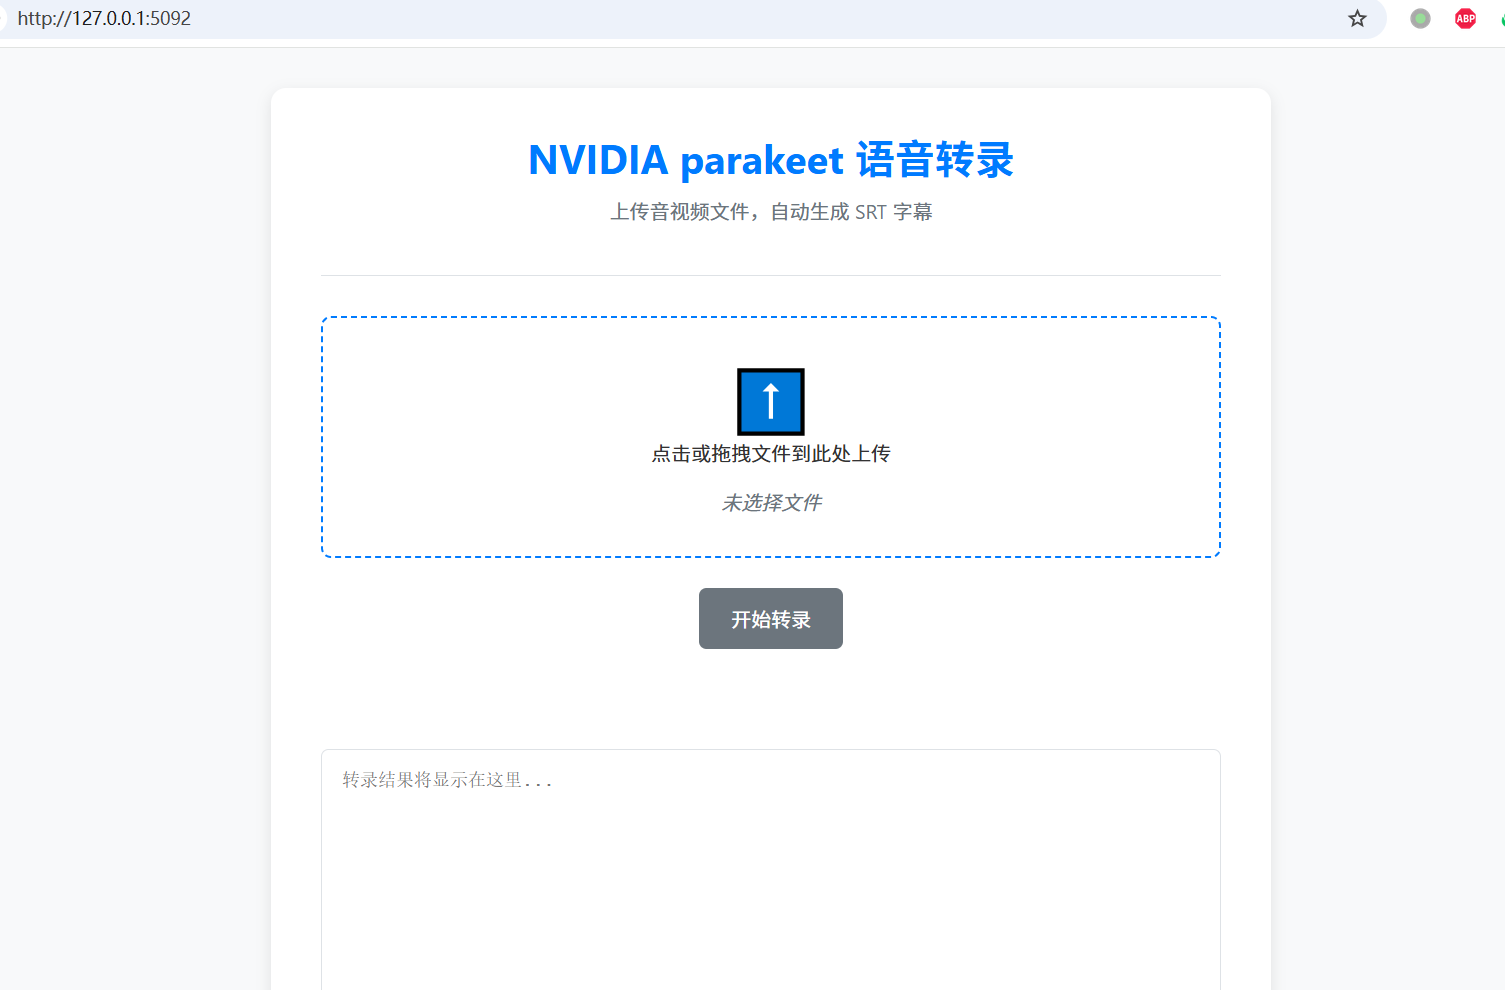
Method 1: Using the Web Interface
- Open in your browser: http://127.0.0.1:5092
- Drag and drop or click to upload your audio or video file.
- Click "Start Transcription" and wait for the process to complete. You can then see and download the SRT subtitles below.
Method 2: API Call (Python Example)
You can easily call this service using the openai library.
from openai import OpenAI

client = OpenAI(
    base_url="http://127.0.0.1:5092/v1",
    api_key="any-key",
)

with open("your_audio.mp3", "rb") as audio_file:
    srt_result = client.audio.transcriptions.create(
        model="parakeet",
        file=audio_file,
        response_format="srt"
    )
print(srt_result)Method 3: Integration with pyVideoTrans (Recommended)
Parakeet-API can be seamlessly integrated with the video translation tool pyVideoTrans (v3.72 and above).
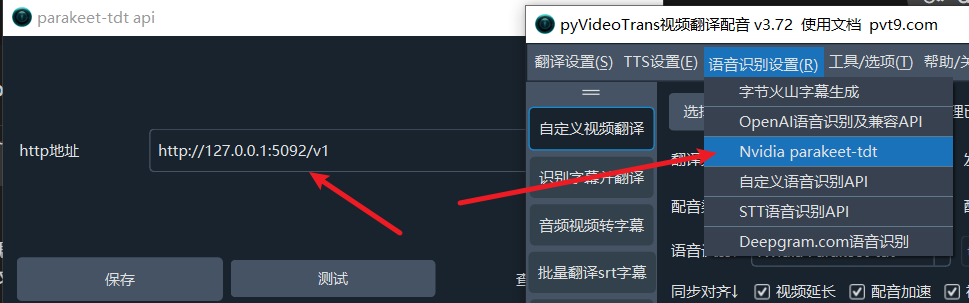
- Ensure your
parakeet-apiservice is running locally. - Open the
pyVideoTranssoftware. - In the menu bar, select Speech Recognition(R) -> Nvidia parakeet-tdt.
- In the configuration window that pops up, set the "http address" to:
http://127.0.0.1:5092/v1 - Click "Save" to start using.