Chatterbox TTS API Service
This is a high-performance Text-to-Speech (TTS) service based on Chatterbox-TTS. It offers an OpenAI TTS-compatible API, an enhanced voice cloning interface, and a user-friendly web UI.
This project aims to provide developers and content creators with a private, powerful, and easy-to-integrate TTS solution.
Project Repo: https://github.com/jianchang512/chatterbox-api
Using with pyVideoTrans
This project can serve as a powerful TTS backend for pyVideoTrans, providing high-quality English dubbing.
Start the Service: Ensure the Chatterbox TTS API service is running locally (
http://127.0.0.1:5093).Update pyVideoTrans: Make sure your pyVideoTrans version is
v3.73or later.Configure pyVideoTrans:
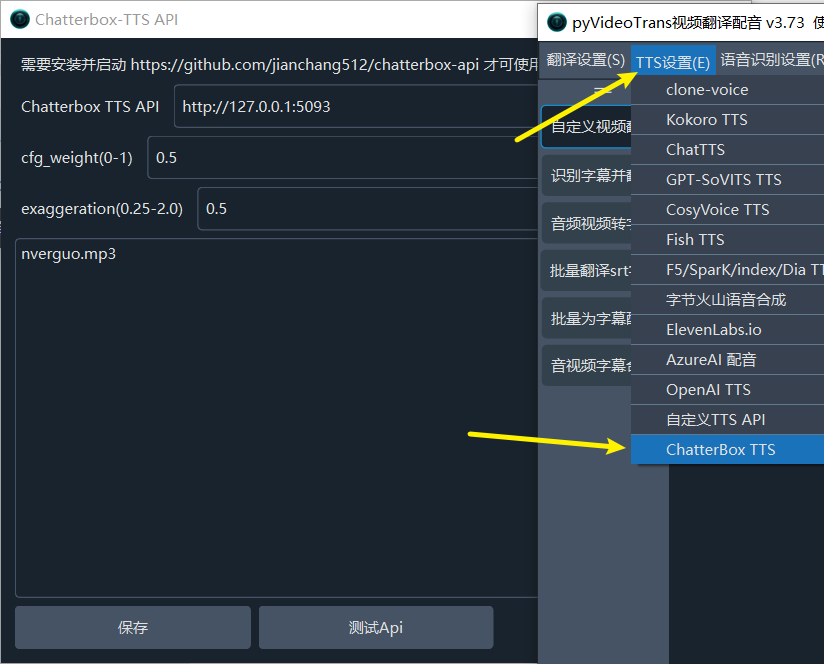
- In the pyVideoTrans menu, go to
TTS settings->Chatterbox TTS. - API Address: Enter the address of this service, which defaults to
http://127.0.0.1:5093. - Reference Audio (Optional): If you want to use voice cloning, enter the filename of the reference audio here (e.g.,
my_voice.wav). Make sure the audio file is placed in thechatterboxfolder within the pyVideoTrans root directory. - Adjust Parameters: Adjust
cfg_weightandexaggerationas needed for optimal results.
Parameter Adjustment Recommendations:
- General Scenarios (TTS, Voice Assistant): The default settings (
cfg_weight=0.5,exaggeration=0.5) are suitable for most cases. - Fast-Paced Reference Audio: If the reference audio has a fast pace, try lowering
cfg_weightto around0.3to improve the rhythm of the generated speech. - Expressive/Dramatic Speech: Try a lower
cfg_weight(e.g.,0.3) and a higherexaggeration(e.g.,0.7or higher). Usually, increasingexaggerationwill speed up the speech, and reducingcfg_weighthelps balance it, making the rhythm more relaxed and clearer.
- In the pyVideoTrans menu, go to
✨ Key Features
- Two API Interfaces:
- OpenAI Compatible Interface:
/v1/audio/speech, seamlessly integrates into any existing workflow that supports the OpenAI SDK. - Voice Cloning Interface:
/v2/audio/speech_with_prompt, generates speech with the same tone by uploading a short reference audio clip.
- OpenAI Compatible Interface:
- Web User Interface: Provides an intuitive front-end page for quickly testing and using TTS features without writing any code.
- Flexible Output Formats: Supports generating audio in
.mp3and.wavformats. - Cross-Platform Support: Provides detailed installation guides for Windows, macOS, and Linux.
- One-Click Windows Deployment: Offers a compressed package for Windows users containing all dependencies and startup scripts for out-of-the-box use.
- GPU Acceleration: Supports NVIDIA GPUs (CUDA) and provides a one-click upgrade script for Windows users.
- Seamless Integration: Can be easily integrated as a backend service with tools like pyVideoTrans.
🚀 Quick Start
Method 1: Windows Users (Recommended, One-Click Launch)
We have prepared a portable package win.7z for Windows users that includes all dependencies, greatly simplifying the installation process.
Download and Extract: https://github.com/jianchang512/chatterbox-api/releases and extract it to any location (preferably without Chinese characters in the path).
Install C++ Build Tools (Strongly Recommended):
- Go to the extracted
toolsfolder and double-click to runvs_BuildTools.exe. - In the installation interface that pops up, check the "Desktop development with C++" option and click Install.
- This step can pre-install many dependencies required for compiling Python packages, avoiding a large number of installation errors.
- Go to the extracted
Start the Service:
- Double-click to run the
启动服务.batscript in the root directory. - On the first run, the script will automatically create a Python virtual environment and install all necessary dependency packages. This process may take a few minutes and will automatically download the TTS model, so please be patient.
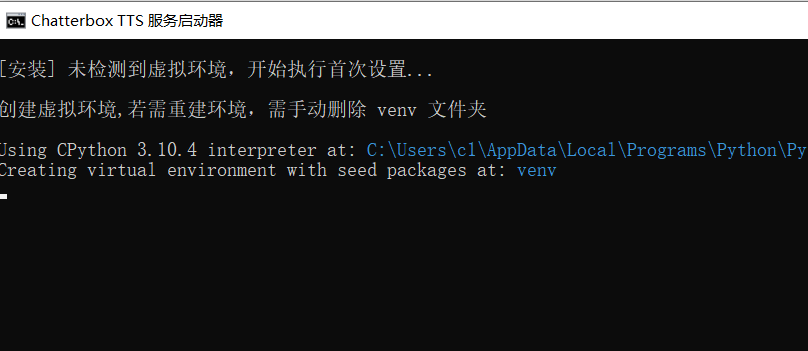
- The service will start automatically after installation.
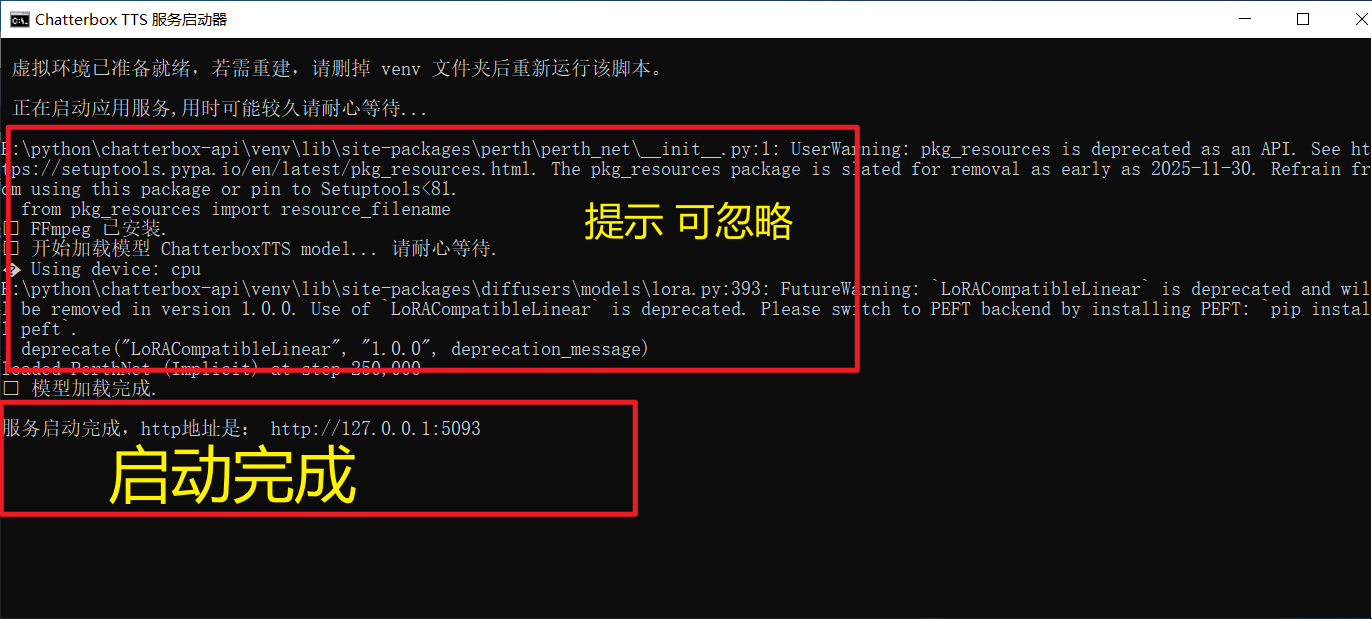
When you see information like the following in the command line window, it indicates that the service has started successfully:
- Double-click to run the
```
✅ Model loaded successfully.
Service started successfully, HTTP address is: http://127.0.0.1:5093
```
Method 2: macOS, Linux, and Manual Installation Users
For macOS, Linux users, or Windows users who want to set up the environment manually, follow these steps.
1. Prerequisites
- Python: Make sure Python 3.9 or later is installed.
- ffmpeg: This is a required audio and video processing tool.
- macOS (using Homebrew):
brew install ffmpeg - Debian/Ubuntu:
sudo apt-get update && sudo apt-get install ffmpeg - Windows (Manual): Download ffmpeg and add it to the system environment variable
PATH.
- macOS (using Homebrew):
2. Installation Steps
# 1. Clone the project repository
git clone https://github.com/jianchang512/chatterbox-api.git
cd chatterbox-api

# 2. Create and activate a Python virtual environment (recommended)
python3 -m venv venv
# on Windows:
# venv\Scripts\activate
# on macOS/Linux:
source venv/bin/activate

# 3. Install dependencies
pip install -r requirements.txt

# 4. Start the service
python app.pyOnce the service has started successfully, you will see the service address http://127.0.0.1:5093 in the terminal.
⚡ Upgrade to GPU Version (Optional)
If your computer is equipped with a CUDA-supported NVIDIA graphics card and you have correctly installed the NVIDIA driver and CUDA Toolkit, you can upgrade to the GPU version for a significant performance boost.
Windows Users (One-Click Upgrade)
- Please ensure that you have successfully run
启动服务.batonce to complete the installation of the basic environment. - Double-click to run the
安装N卡GPU支持.batscript. - The script will automatically uninstall the CPU version of PyTorch and install the GPU version compatible with CUDA 12.6.
Linux Manual Upgrade
After activating the virtual environment, execute the following commands:
# 1. Uninstall the existing CPU version of PyTorch
pip uninstall -y torch torchaudio

# 2. Install PyTorch that matches your CUDA version
# The following command is for CUDA 12.6, please get the correct command from the PyTorch official website according to your CUDA version
pip install torch torchaudio --index-url https://download.pytorch.org/whl/cu126You can visit the PyTorch official website to get the installation command that suits your system.
After the upgrade, restart the service, and you will see Using device: cuda in the startup log.
📖 Usage Guide
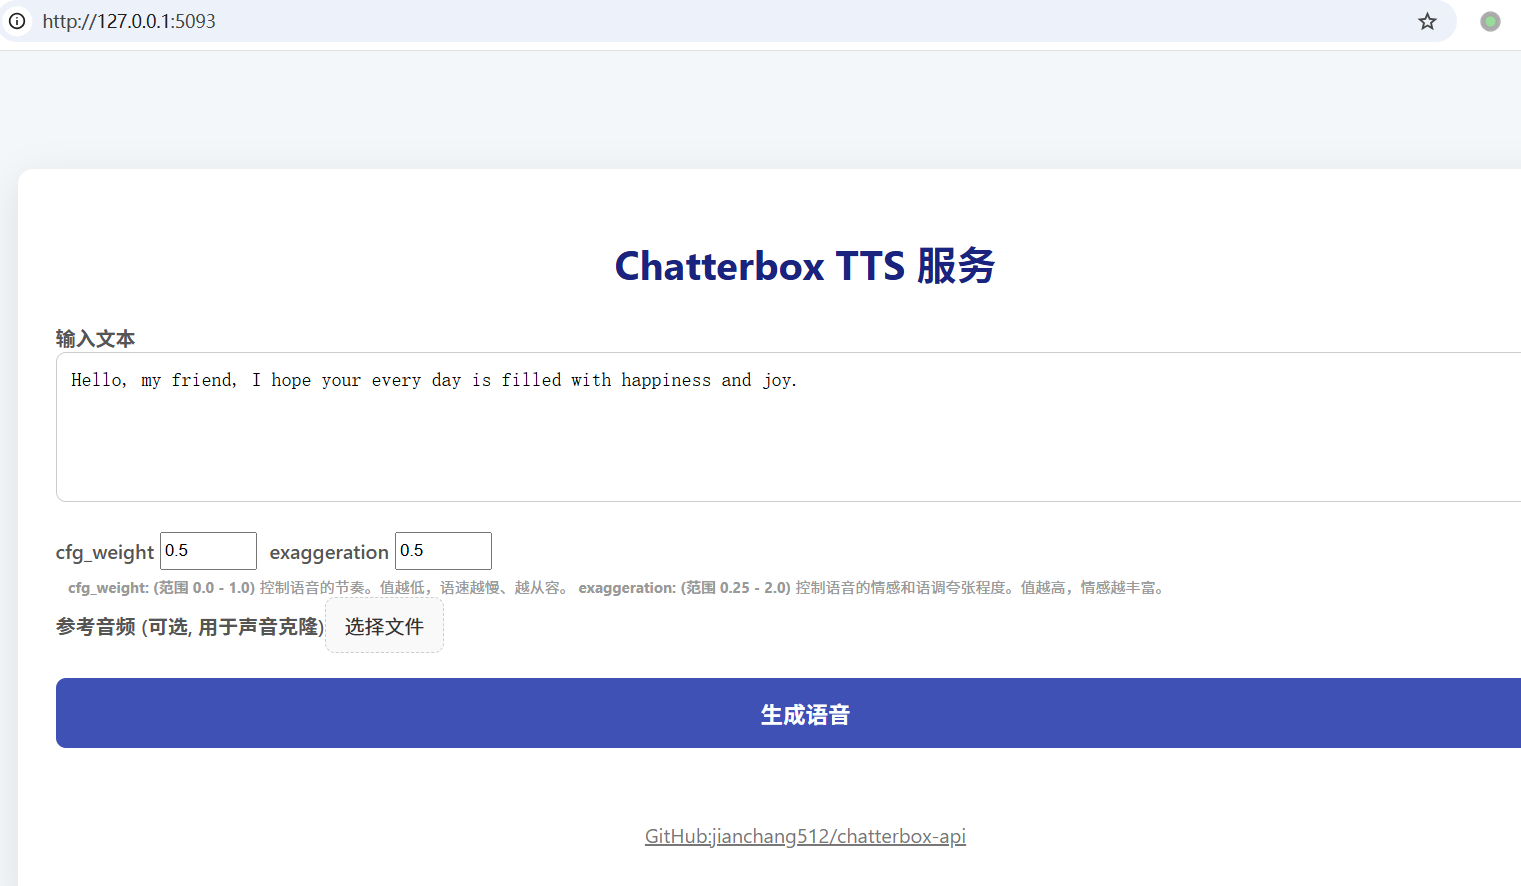
1. Web Interface
After the service is started, open http://127.0.0.1:5093 in your browser to access the Web UI.
- Input Text: Enter the text you want to convert in the text box.
- Adjust Parameters:
cfg_weight: (Range 0.0 - 1.0) Controls the rhythm of the voice. The lower the value, the slower and more relaxed the speech. For fast-paced reference audio, this value can be appropriately reduced (e.g., 0.3).exaggeration: (Range 0.25 - 2.0) Controls the emotional and intonation exaggeration of the voice. The higher the value, the richer the emotions, and the faster the speech may be.
- Voice Cloning: Click "Choose File" to upload a reference audio clip (e.g., .mp3, .wav). If reference audio is provided, the service will use the cloning interface.
- Generate Speech: Click the "Generate Speech" button and wait a moment to listen online and download the generated MP3 file.
2. API Calls
Interface 1: OpenAI Compatible Interface (/v1/audio/speech)
This interface does not require reference audio and can be called directly using the OpenAI SDK.
Python Example (openai SDK):
from openai import OpenAI
import os

# Point the client to our local service
client = OpenAI(
    base_url="http://127.0.0.1:5093/v1",
    api_key="not-needed"  # API key is not required, but the SDK requires it
)

response = client.audio.speech.create(
    model="chatterbox-tts",   # This parameter will be ignored
    voice="en",              # Used to pass the language code, currently only 'en' is supported
    speed=0.5,               # Corresponds to the cfg_weight parameter
    input="Hello, this is a test from the OpenAI compatible API.",
    instructions="0.5"     # (Optional) Corresponds to the exaggeration parameter, note that it needs to be a string
    response_format="mp3"    # Optional 'mp3' or 'wav'
)

# Save the audio stream to a file
response.stream_to_file("output_api1.mp3")
print("Audio saved to output_api1.mp3")Interface 2: Voice Cloning Interface (/v2/audio/speech_with_prompt)
This interface requires uploading both text and a reference audio file in multipart/form-data format.
Python Example (requests library):
import requests

API_URL = "http://127.0.0.1:5093/v2/audio/speech_with_prompt"
REFERENCE_AUDIO = "path/to/your/reference.mp3"  # Replace with your reference audio path

form_data = {
    'input': 'This voice should sound like the reference audio.',
    'cfg_weight': '0.5',
    'exaggeration': '0.5',
    'response_format': 'mp3'  # Optional 'mp3' or 'wav'
}

with open(REFERENCE_AUDIO, 'rb') as audio_file:
    files = {'audio_prompt': audio_file}
    response = requests.post(API_URL, data=form_data, files=files)

if response.ok:
    with open("output_api2.mp3", "wb") as f:
        f.write(response.content)
    print("Cloned audio saved to output_api2.mp3")
else:
    print("Request failed:", response.text)